When people think about Custom Packaging Step by Step Guide for their product most people imagine just a plain box that simply holds a product. But packaging is more than that. It’s the first thing that your customer touches and it’s the first impression they get of your brand. A great designed box can make even an everyday product feel exciting and poor packaging can make something valuable look cheap.
If you are running a business in the United states you have to get your packaging right is just as important as the product. To help you understand the process step-by-step guide.
Step 1: (Custom Packaging Step by Step Guide) Start the Basics
Confirmation the product like Is it food, skincare, electronics, or clothing. Each product has different needs. A fragile item will need more protection than a t-shirt. Food boxes must be safe and sometimes grease resistant. A perfume box on the other hand, has to look stylish and elegant.
Think also about how customers will get your product. Will they see it on a retail shelf? Or will you ship it directly to their homes? A box meant for shipping has to be stronger while retail packaging should be more eye catching.

Step 2: Pick the Right Material
The material, often called “stock,” is the foundation of your box. Here are some common options:
- Cardboard stock. A popular choice for retail packaging.
- Kraft stock. Recyclable and nature friendly perfect if your customers care about nature..
- Corrugated board. Strong and sturdy best for shipping purposes.
- Rigid board. Thick and premium and used for luxury products..
Selecting the right stock depends on the balance you want between look, strength, and cost.

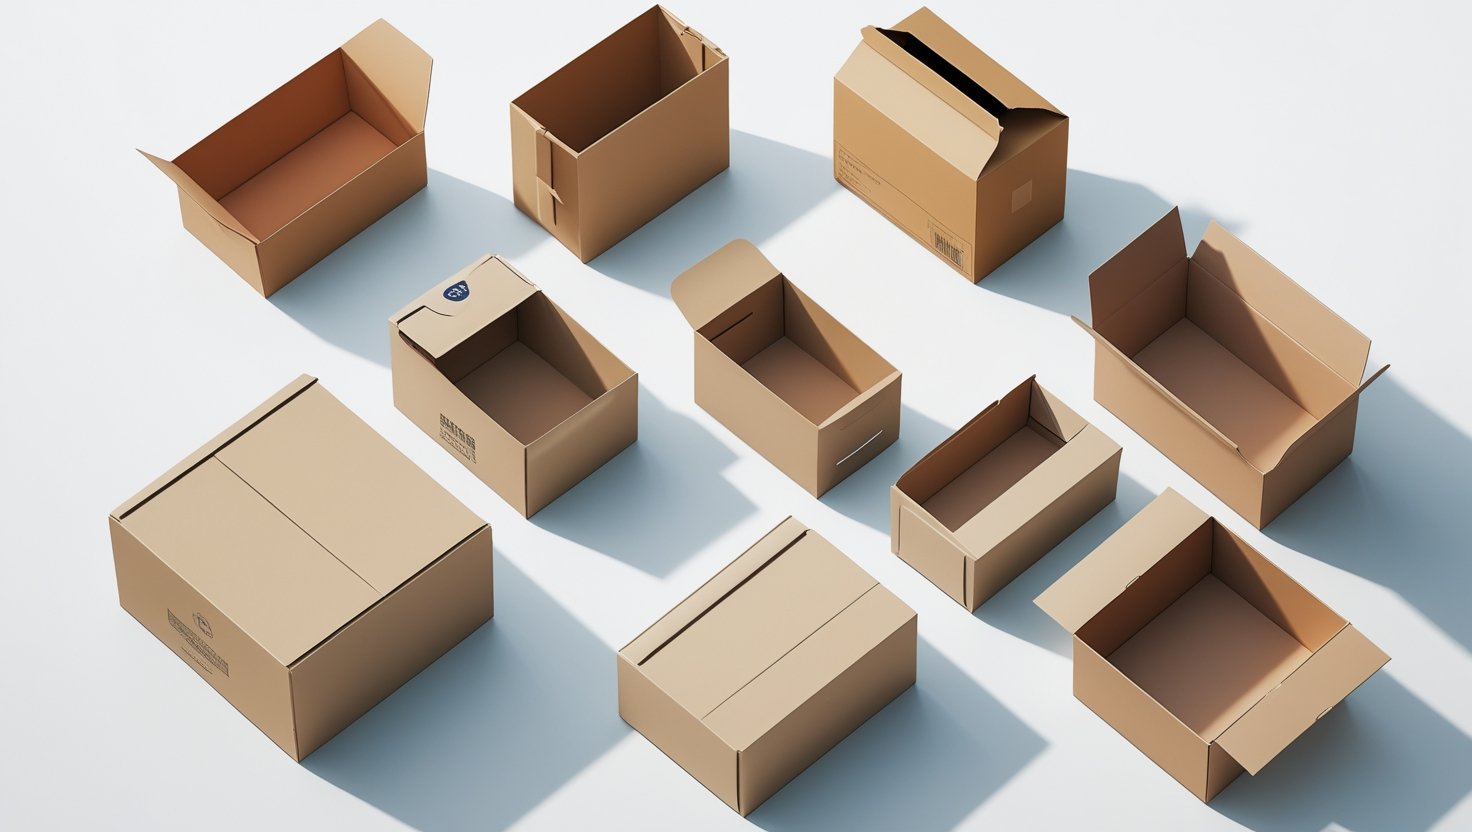
Step 3: Select a Box Style
Next comes the style of the box. This is where function meets creativity. Some examples:
- Mailer boxes for subscription and e-commerce brands.
- Tuck-end boxes for cosmetics and small retail items.
- Sleeve boxes that slide open for a premium feel.
- Rigid boxes for luxury packaging.

Step 4: Select the Right Measurements
Before making your box you need to know the exact size of the boxes or product. If the box is too small your product will not fit. If it’s too big the item will move around or “jump” inside, which does not look good and may cause damage.
The best way to take proper measurements. You will need three numbers.
- Height (H): Measure from the product or box from top to bottom.
- Width (W): Measure the product or box left to right.
- Depth (D): Measure the product or box from front to back.

Always use a scale or measuring tape and double check before sending the details to your packaging supplier.
Once you share them your packaging partner can prepare a die-line (a flat layout of your box design). This ensures your packaging fits perfectly and keeps your product safe and looks professional when your customer opens it.
Step 5: Design Your Box
This is the fun part. Design is where your brand shows its personality. A few things to think about:
- Your company logo.
- Colors match your brand.
- Matte or glossy finish.
- Should you use bold fonts, or something minimal and clean?

A simple box with the right logo and color scheme can look professional and make your product luxurious.
Step 6: Select a Printing Method
Not all print processes are the same. Some options include:
- Digital printing – Great for small runs and bright colors.
- Offset printing – High quality and consistent usually for larger orders.

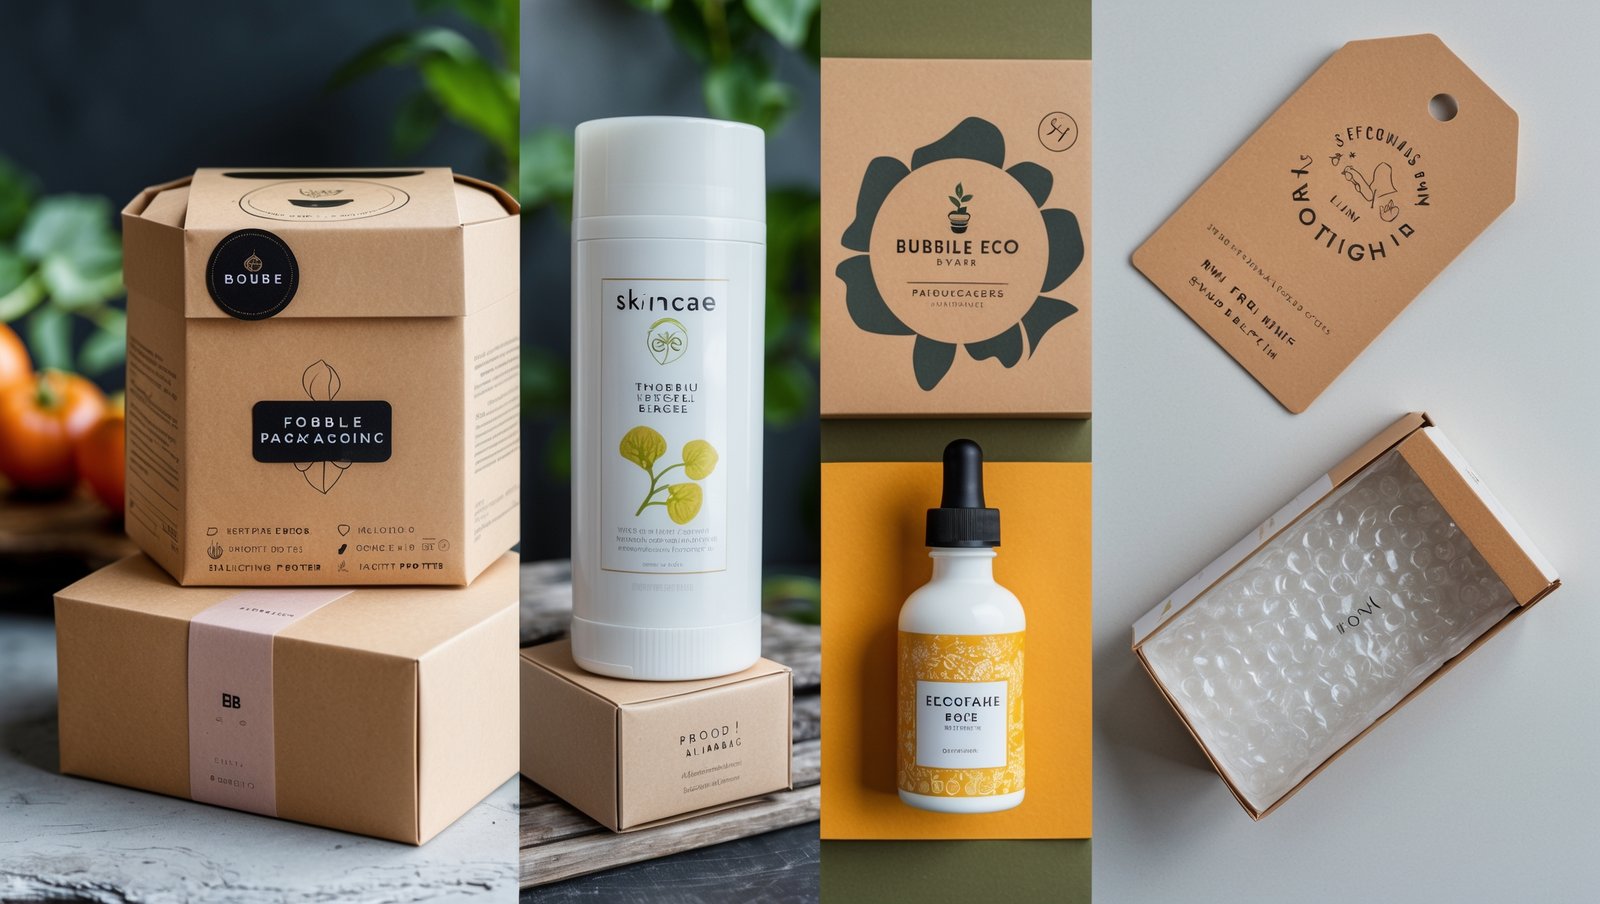
Step 7: Think About Inserts and Extras
Sometimes the box alone is not enough to hold the prices. If you are selling something high end you may need extras like:
- Foam inserts to hold products in place.
- Kraft paper or eco-friendly filler.
- Custom stickers or thank you cards for a personal touch.

Step 8: Check a Sample
Before going into full production always check a sample. This way you can test the stock quality and check the product will be fit in the box properly:
- Does the product fit well?
- Are the colors right?
- Is the material strong enough?

Step 9: Start Production
Once you are happy with the sample, production begins. At this stage confirm the quantity or timeline and shipping details with us. We will keep you updated regarding your order.

Step 10: Deliver a Great Unboxing
When someone opens your box do they feel excited? Does the packaging make the product feel special? That moment matters. A great designed packaging can turn first time buyers into loyal customers who share your brand with others.

Final Thoughts
Custom packaging looks complicated but when you break it down step by step it’s actually a simple process. At D Custom Boxes, we help businesses through each stage of this process. Whether you need eco-friendly kraft boxes, sturdy mailer boxes, or luxury rigid packaging, we have got you covered. We transport to every state in the USA, Your box is further than packaging — it’s your brand’s first print. Let us help you make it a great one .